

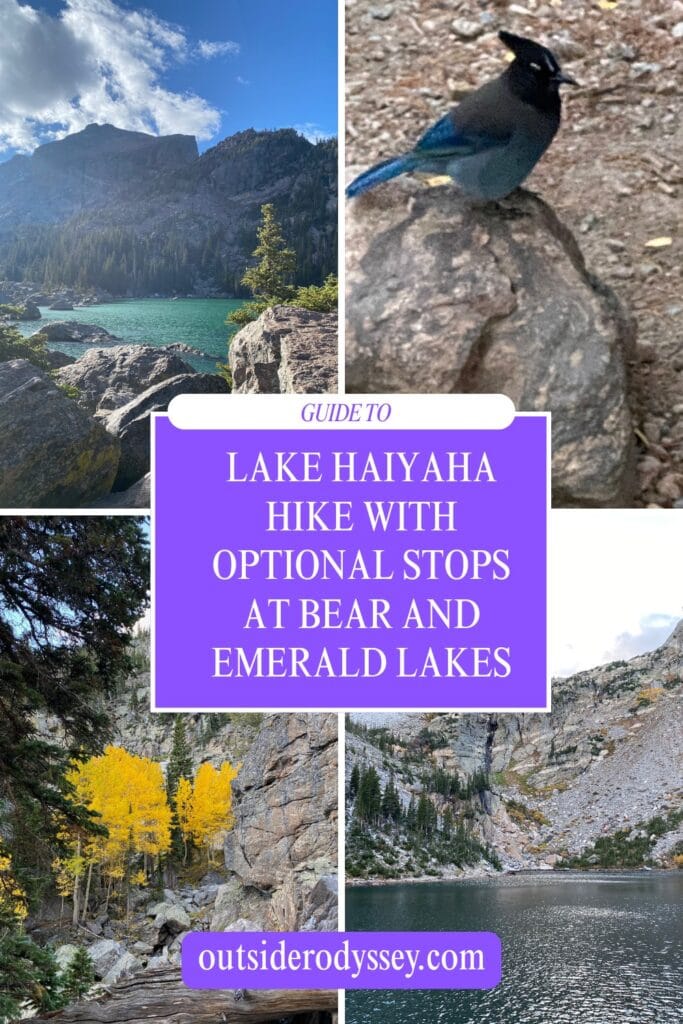
Lake Haiyaha Hike Guide: How to Visit RMNP’s Turquoise Lake With Optional Stops at Bear & Emerald Lakes
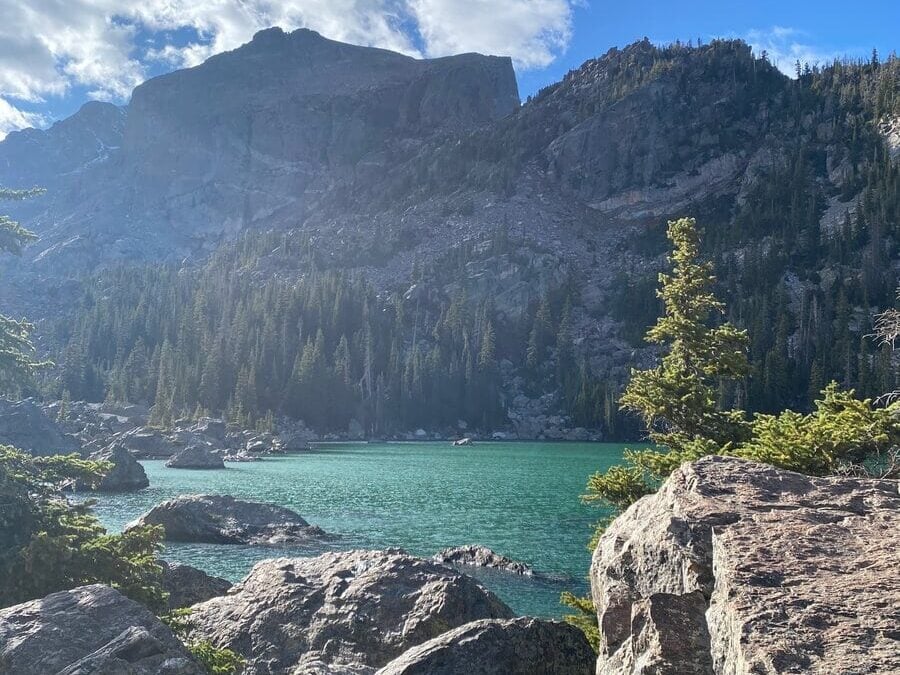
When I visited Rocky Mountain National Park, the Lake Haiyaha hike was high on my to-do list. I mean, that turquoise water set against that beautiful mountain backdrop? Yes, please.
Lake Haiyaha is the perfect hike for hikers who want to get away from the huge crowds at Bear and Emerald Lakes and go a little off the beaten path (but it’s still a popular hike. Thanks, Instagram).
There’s no “right” way to do this hike—there are several options and stop-offs along the way, and you can even combine this trail with Sky Pond if you’re feeling extra adventurous.
You have the option to see up to 5 (!) alpine lakes (Bear, Nymph, Dream, Emerald, and Haiyaha) when you hike to Lake Haiyaha, and the hike is not overly difficult or strenuous, but still somewhat challenging. You’re getting a lot of bang for your buck, so to speak. I’ll get into all the details of the Lake Haiyaha hike…
But first, a very important question…
Why Is Lake Haiyaha Green?
Lake Haiyaha wasn’t always green. It changed colors because of a rock slide in 2022. The rocks ground together, producing silt and clay, which looks green when light reflects off it.
It’s unknown how long it will remain green, so….might as well hurry up and check this one off your bucket list!
No time to read now? Pin this post for later!
What to Know Before Hiking Lake Haiyaha
You need reservations if you’re hiking between May and October. Reserve here. Choose “Timed entry plus Bear Lake Road.”
Arrive early to find a parking spot and avoid the afternoon thunderstorms. Parking is at Bear Lake lot, and though it’s a large parking lot, it fills up fast because it’s the starting point for many of RMNP’s most popular hikes.
During the summer months, thunderstorms happen in the afternoon. I did this hike in early October, so I didn’t have to worry about the storms, but if you’re going in the summer, you’ll want to be finished by the time the thunderstorms hit. Check the weather before you go.
Take the shuttle if you’re arriving later. Not a hiking-at-5am-kind of person? Me neither. Luckily, there’s a shuttle in Estes Park for hikers should you need it.
Lake Haiyaha Trail Stats
Trail type: Out and back
Distance: ~4.5-5 miles round trip, depending on stops
Elevation gain: 745 ft
Time to hike: 3-4 hours, depending on stops and how long you meander
Difficulty: Moderate
Dogs allowed? No, no trails at RMNP are dog-friendly.
Parking: Bear Lake Lot Map
AllTrails
Here’s a breakdown of each lake you’ll be seeing with distance and elevation gain:
| Stop | Distance from trailhead | Elevation gain |
| Bear Lake | 0.0 mi | 0 ft |
| Nymph Lake | 0.5 mi | +225 ft |
| Dream Lake | 1.1 mi | +425 ft |
| Emerald Lake | 1.8 mi | +650 ft |
| Lake Haiyaha | 2.2 mi | +745 ft |

Lake Haiyaha Hike
Start at the Bear Lake Parking Lot. Enter the hiking area and follow the trail toward Lake Haiyaha.

Nymph Lake
Your first lake of the day will be Nymph Lake. This lake is right on the trail, so you might as well stop and enjoy the cool lily pads!
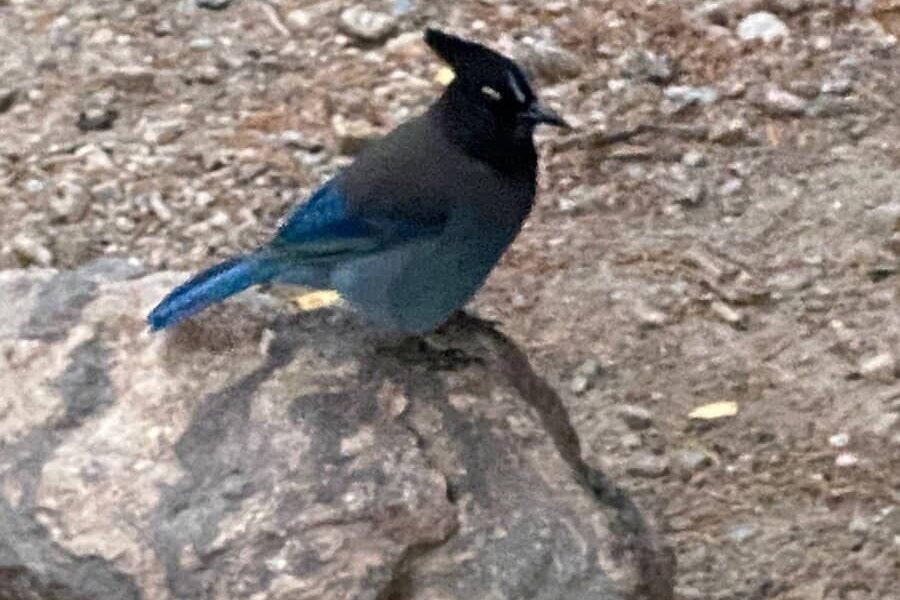
Enjoy the wildlife!
Dream Lake
Continue climbing uphill until you reach the next lake, Dream Lake.
Note: The turnoff for Lake Haiyaha is here at Dream Lake. If you’d like to continue to Haiyaha from here, feel free. Or you could take a .7-mile out-and-back detour to Emerald Lake first. I highly recommend stopping at Emerald Lake!

Fall leaves along the Emerald Lake trail

Optional Stop: Emerald Lake
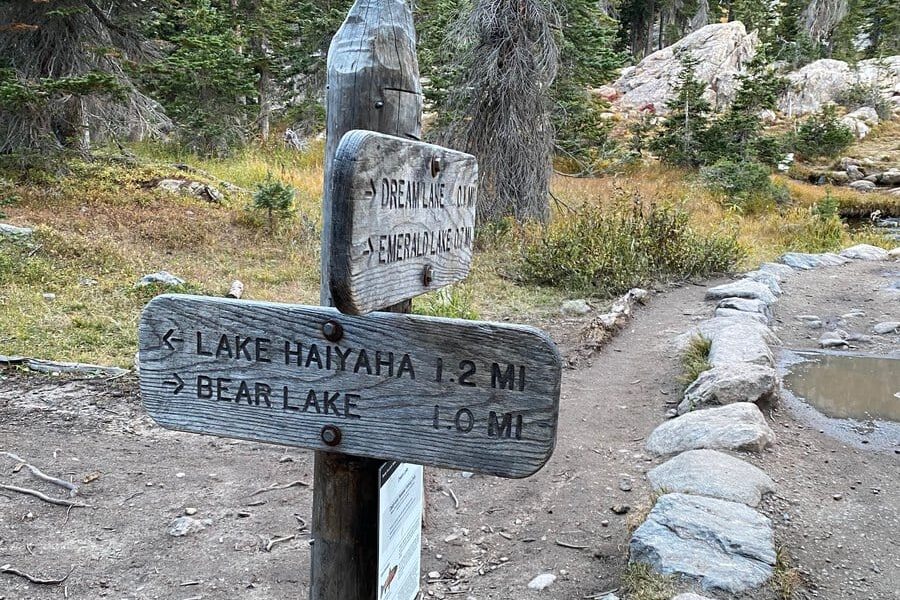
Follow signs for Emerald Lake and take in the views. Once you’ve had your fill, head back toward Dream Lake. You’ll see a sign that looks like this:
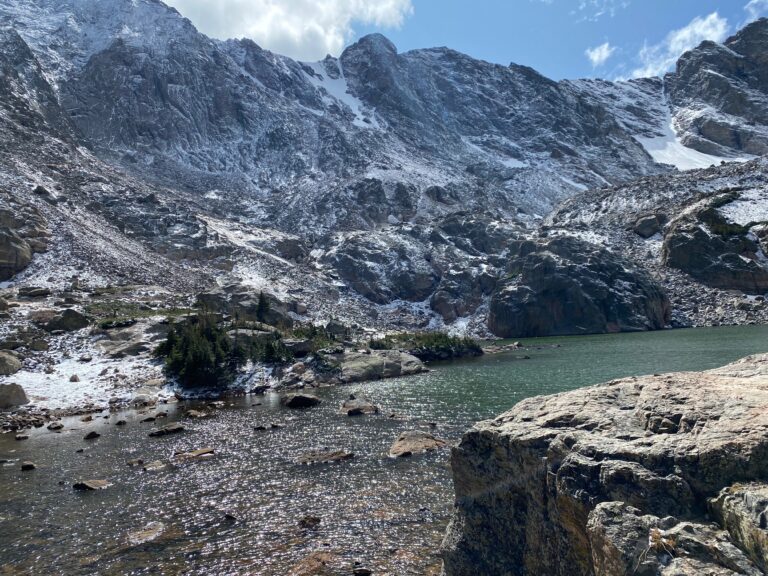
Lake Haiyaha
Follow the trail to Lake Haiyaha. The trail will get a little steeper and more difficult here, but it’s well worth it!

And you’ve made it!
Lake Haiyaha is a lot more boulder-y than Instagram photos would lead one to believe. Yet another reminder that social media is a highlight reel.

But it’s still well worth it. Find a spot on the boulders and enjoy!
Once you’re ready, retrace your steps back toward Bear Lake.

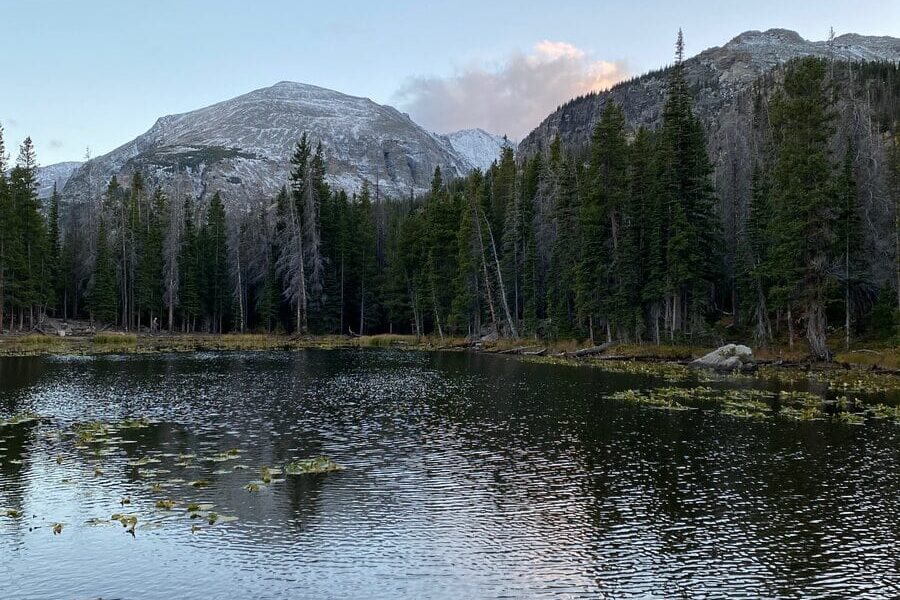
Bear Lake at sunset
Optional Stop: Bear Lake
Just like you wouldn’t skip dessert after dinner (or at least I wouldn’t), you don’t want to leave Rocky Mountain National Park without stopping at Bear Lake! It’s the park’s most popular lake, and it’s only a few feet out of your way. It adds .6 miles onto your hike. Bear Lake is a very easy trail and is wheelchair accessible.
Tips for Lake Haiyaha Hike
Take it easy. If you’re not used to the altitude, you may feel the effects. You’re at over 10,000 feet on this trail, so be sure to go slow and don’t overdo it.
Arrive early. I know I said this earlier, but I want to drive the point home. Early arrival means you’ll beat the afternoon thunderstorms and have a better chance at finding parking.
When’s the best time to hike Lake Haiyaha?
As with any hike in RMNP, I’d say summer to early fall. I did this hike in early October.
What to bring on the Lake Haiyaha Hike?
Water
Sunscreen. To be on the safe side. Much of the trail is wooded, but you’re at a very high altitude.
Hiking shoes or walking shoes. This trail isn’t super technical, so regular walking shoes will do just fine as long as you’re doing it in a warm season with little to no snow and ice.
Snacks
Yourself! Honestly, you could get away without bringing anything on this hike because it’s not super long, but I’d recommend at least bringing water.
Want an extra challenge? Combine this hike with Sky Pond!
If you want to see even more gorgeous lakes and epic views, read all about how to add on Sky Pond here.